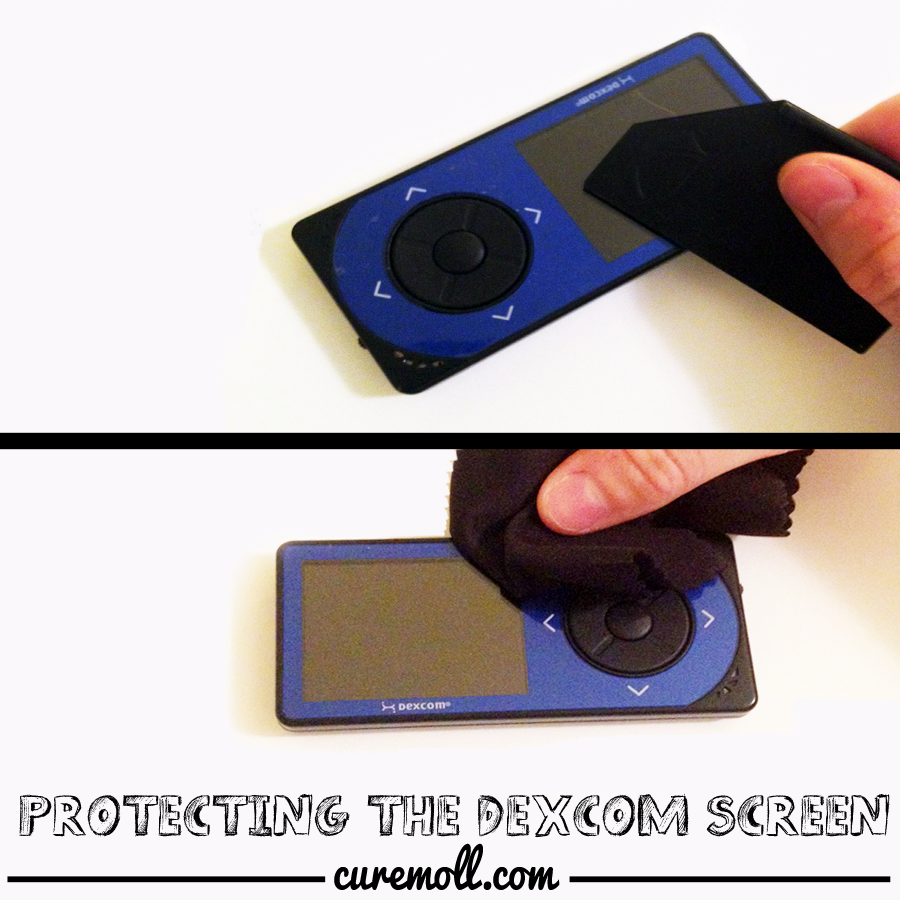
I know it’s been a bit since I posted a Tutorial Tuesday, but since starting on the Dexcom, the protective screen they ship it with was starting to peel off…and I felt like I should show you how I re-used the peel-off cover to cut out a new Zagg Invisible Shield for my Dexcom! Even if you don’t have that anymore, this will still work! So here goes!


STEP 1: Gather Supplies
-
Zagg Invisible Shield Universal Screen Protector Kit
(I bought mine from BestBuy, there 2-packs at the time, so I’m not sure what they sell now, but that way, theres no cut outs for iPhone speakers in the Universal Versions) ;)
—includes:
-cleaning cloth
-Zagg Screen Protector
-Surface Smoother, (name?) similar to a credit card.
-Application spray - Dexcom G4 Platinum Receiver
-
Scissors
(not pictured)
STEP 2:In my case, I peeled off the cover that Dexcom comes shipped with to use for a template. See pictured –>

STEP 3: Trace, mark, and cut the invisible shield to size. You can mark the side of the Invisble Shield that has “REMOVE” writing all over it, this gets thrown away later. So don’t worry about the marks! For the center, the trace i made was not quite small enough, so you might need to cut it when you stick it to the Dexcom. (More on that later)

STEP 4: Before going on, make sure you have the Dexcom cleaned, I used a damp alcohol pad and made sure there were no streaks with the cleaning cloth.
STEP 5: After lightly spraying your fingers with the Application Spray that comes in the Zagg Invisible ShieldKit, to prevent finger prints, peel back the Invisible Shield Cover.

STEP 6:(Not pictured) Place the Invisible Shield film over the Dexcom and make sure the middle buttons are not covered by the film, you might need to cut those edges during this application….
STEP 7:Flatten the film over theDexcomand then use the cleaning cloth to smooth everything over and make sure there are no air bubbles. In my opinion, Invisible Shield is my favorite to unprotect my Dexcom and Pump Screen, just because once you apply this, it doesn’t peel back when putting it in cases and on a belt clip…this will stay on FOREVER and bubbles never come back! 
STEP 8: After everything is smooth, tah-dah! There you go! Be careful putting this is in a case for a few hours, but you should be all good and covered for a long time to come!
Here is the finished product:

See this also on Pinterest, feel free to like and re-pin!
Do you have any tips and tricks or tutorials you’d like to see?


